Cutting at the Wall with a Handibot … (on my boat)
by Ted Hall • June 1, 2016 • Development Team Report, How To, Projects
A couple of weekends ago I had the opportunity to try a Handibot with a vertical, wall-cutting orientation. We had previously done several small wall-cutting projects with the original Handibot V1.0’s, but I had not done anything vertical recently or with a V2.0.
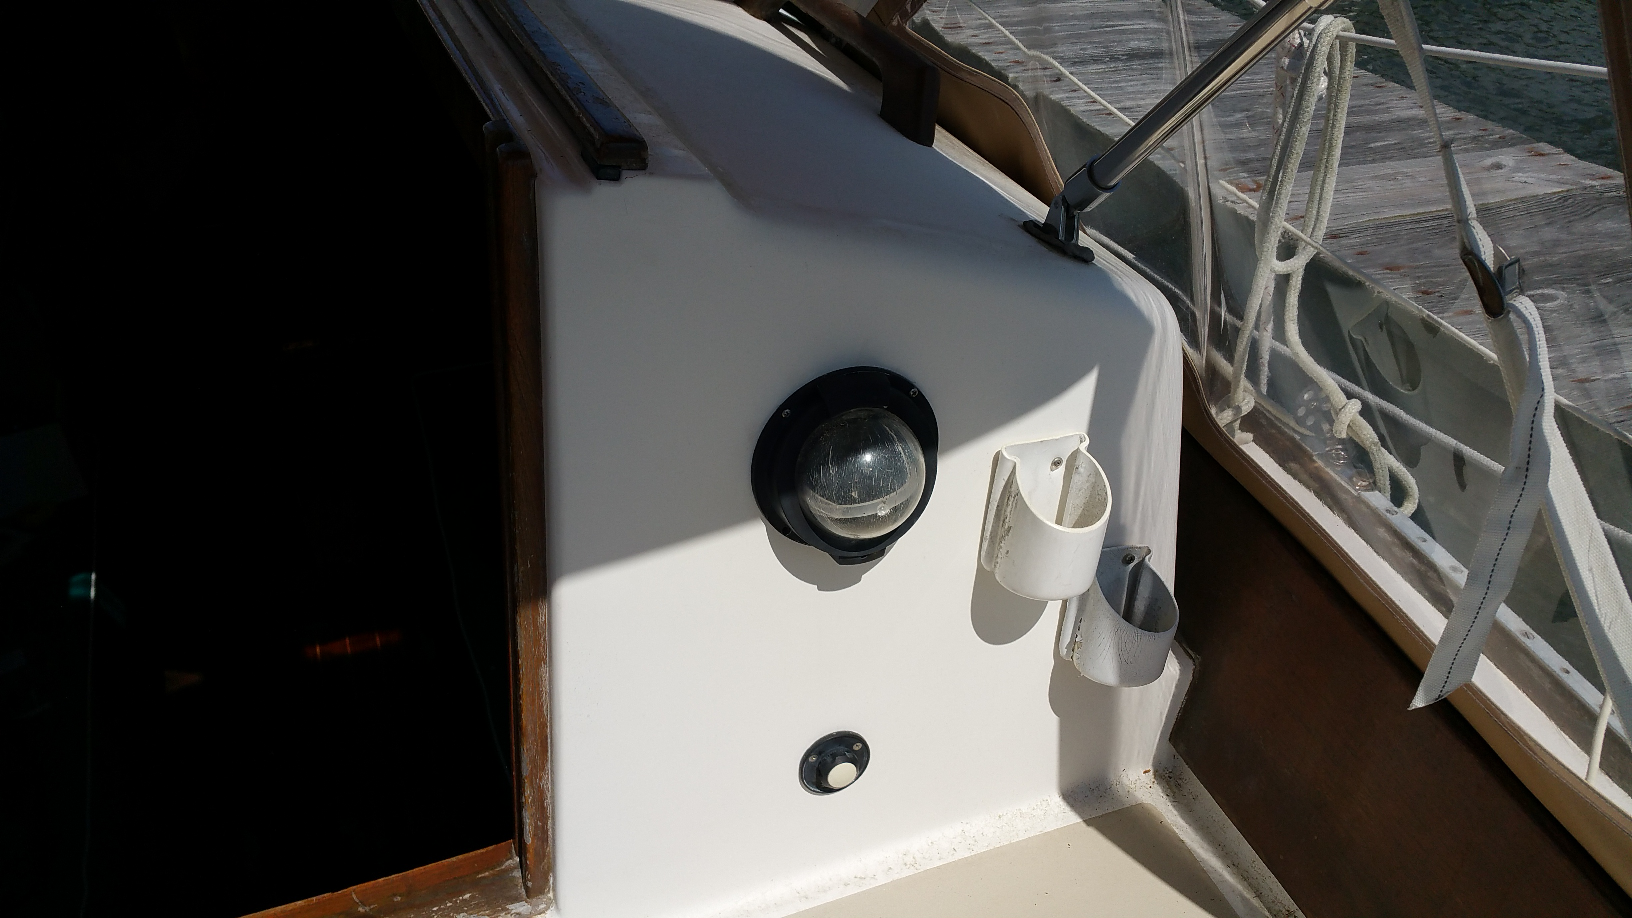
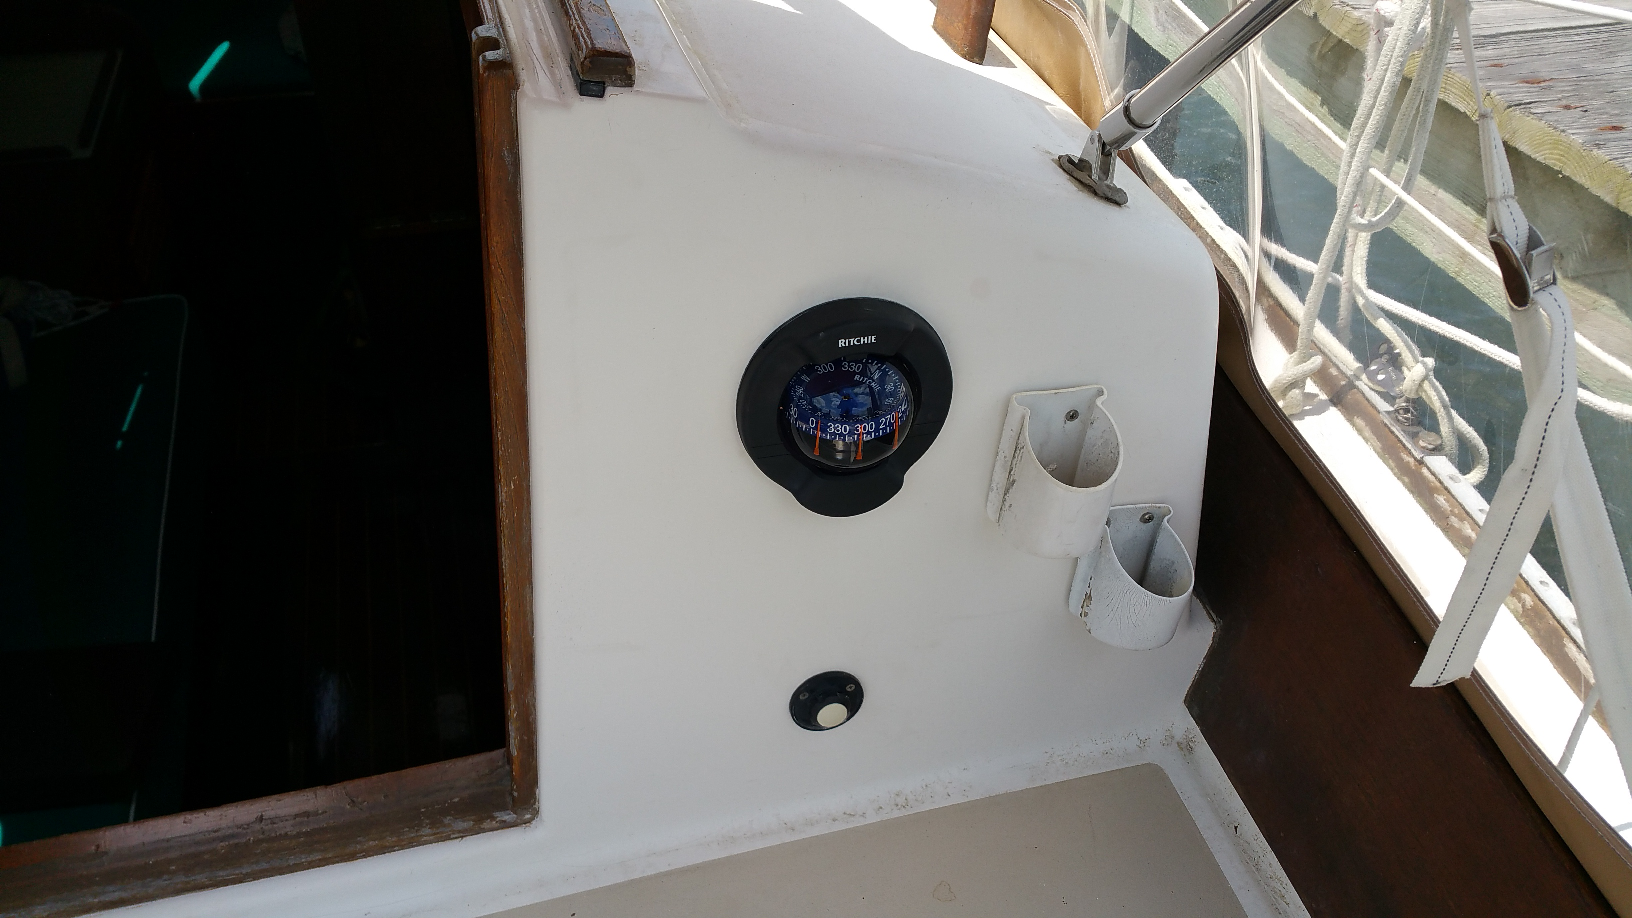
It was a boat project, naturally. I needed to replace an old compass mounted in the bulkhead (vertical) of my sailboat. The original old compass had a 4.0 inch cutout, and the instructions called for the new cutout to be 4.6 inches. I wanted to shift the location a bit as well. I figured I would not easily find a hole-saw exactly the right size, and even if I did, I would have trouble centering it up. The mounting instructions for the new compass provided a pattern for the shape and seemed to suggest tracing it and using a jig saw for the unusual size needed. There were mounting holes for the new compass as well, that were oddly in about the same location as the old ones. I just needed to make those a little bigger and make sure they were exactly located in relation to the new hole. I also needed to make a small hole tangent to the top for a wire to the compass light. This all sounded like a great Handibot project.
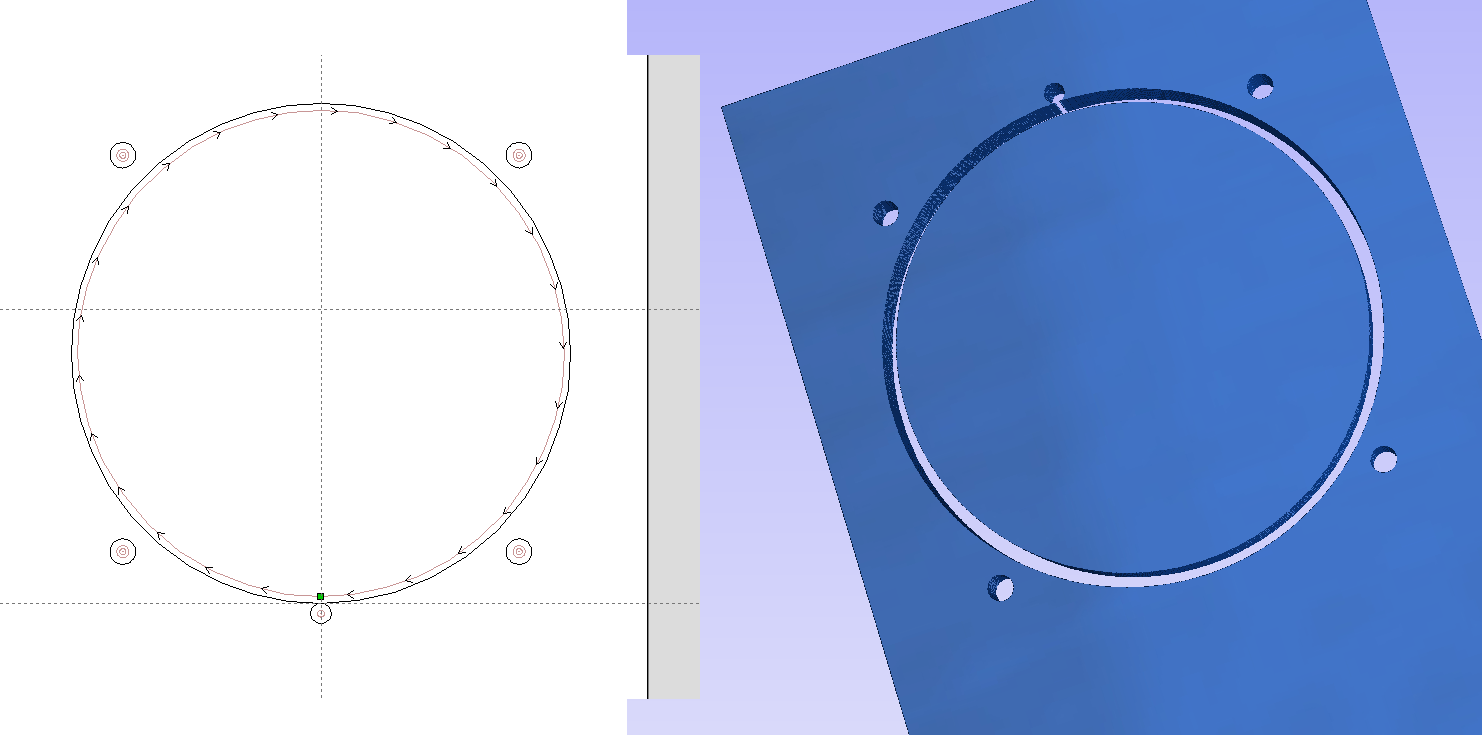
The day before I went to visit my boat (3 hours away), I created a tool-path for the cut-out and bolt-holes using V-Carve Pro. I set the file up so that 0,0 was exactly at the top of the cutout to make it easy to position my cut. I saved the tool-path to my Dropbox (Dropbox works well for me for Handibot projects). Then, I made sure the file would be available to me locally on my smart phone using the Dropbox option that makes files available offline on phones. I expected to be using the Handibot in direct (Access Point) mode at the boat, having no network available there. Doing the project from my phone seemed to make the most sense.
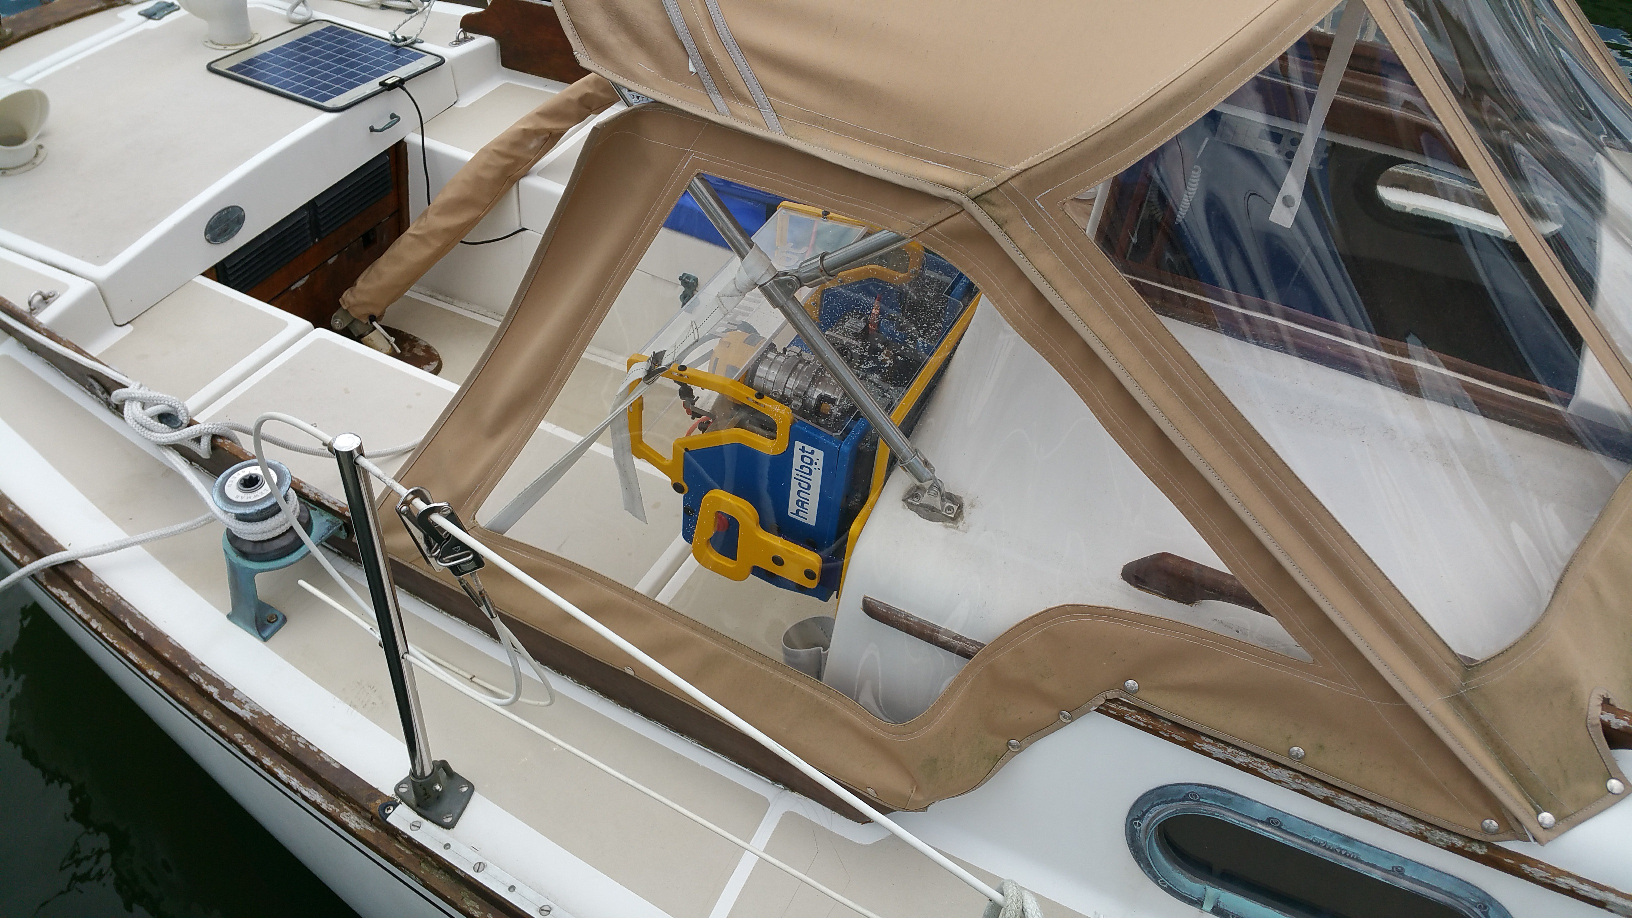
The challenge for using a Handibot on the wall is how to hold the base in position during cutting. For this challenge, before going down to the boat, I grabbed a couple random boards and clamps, figuring I would set up some sort of lower fence to rest the Handibot base on.
This approach worked out well and I was able to support the base and get the Handibot positioned so that the hole-to-be-cut was within the tool’s work area. Conveniently, it turned out that I could put another clamp on the side of the tool, out of the motion path. The extra clamp pretty much held everything in position (if it had not, I would probably have wanted a helper). I did hold the grips during cutting to provide a little extra security.

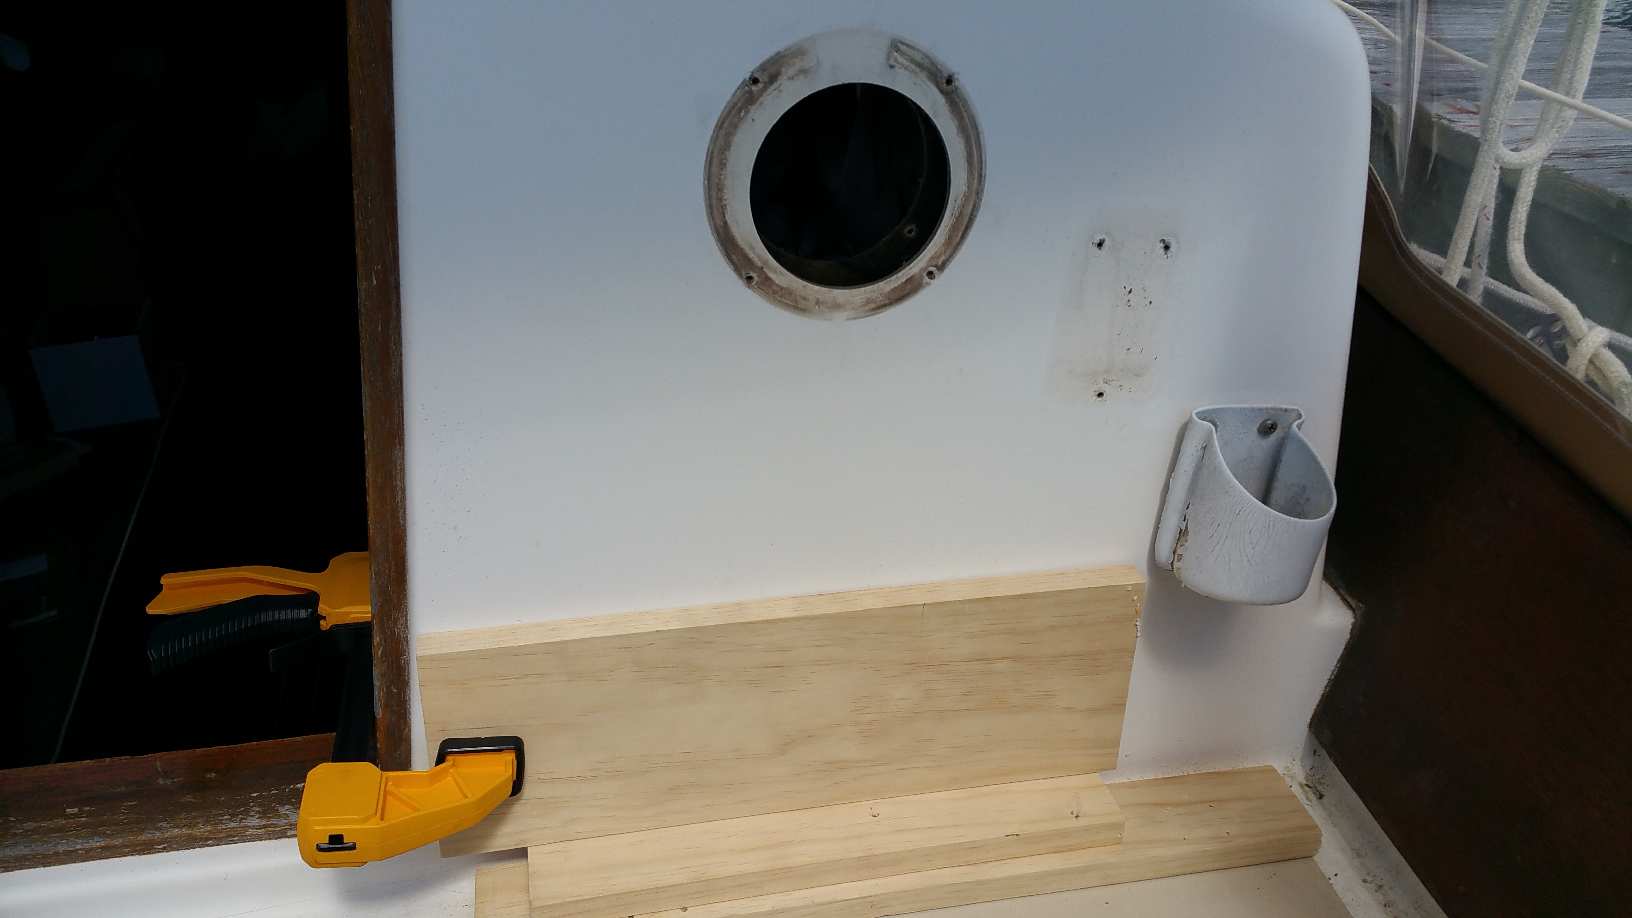
At this point, I was ready to make the cut. I Z-zeroed the cutter at the bulkhead wall using the manual method of just pushing the cutter flush to the material before powering-on, and setting the Z equal to zero after linking to the tool from my phone. Once powered up and linked, I used the keypad to move the cutter to my starting position at the top of the cutout and zeroed the X and Y. I was all set to cut my new hole – and the Handibot did it perfectly. I was pretty conservative in the cutting, working through the 1/2” fiberglass and plywood bulkhead in about 8 passes. As noted, I held the tool grips during cutting, not relying on the clamps to make sure I was solidly positioned against the wall. (And, in the interest of full disclosure, I did a practice pass an inch above the material before the actual cut … just as a final check of my thinking and positioning.)
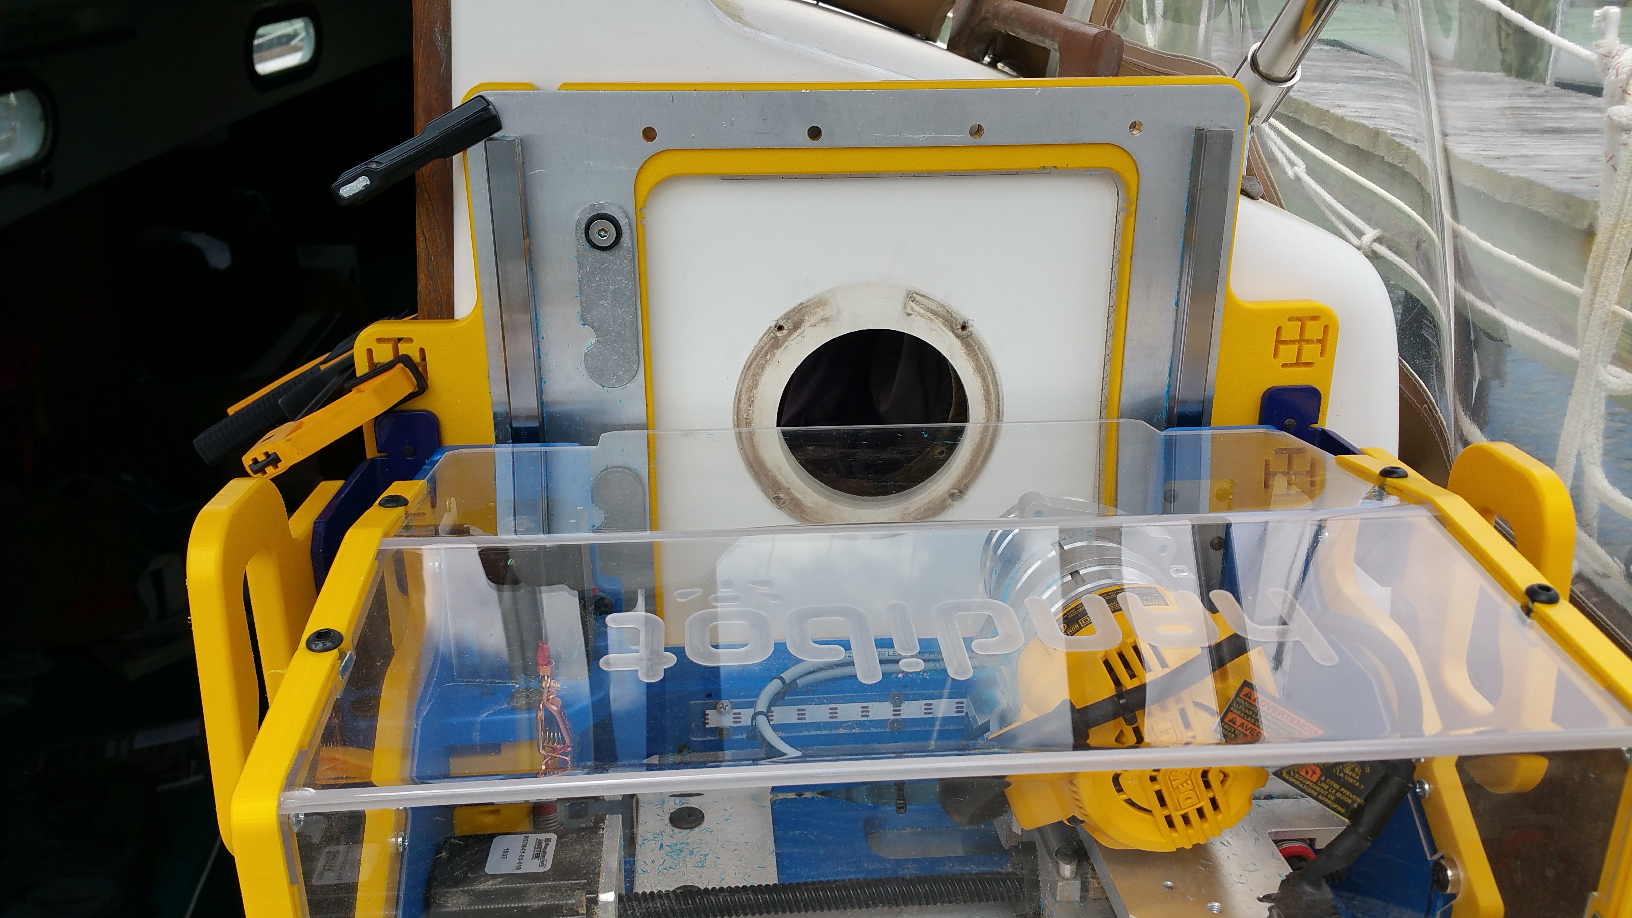

Here’s what the final hole looked like.
And, here’s the new compass …
Things to be aware of with a Handibot on the wall:
Note that with a Y-vertical alignment (as I used here), the Y-axis must move the full weight of the tool up and down, except for the base. It puts a pretty heavy load on the Y-motor. Thus, you will not have full speed and power if your physical arrangements require this orientation. So, you’ll need to be a little careful. I kept my cutting and jogging to 1-inch/sec and slowed the default speed of the Keypad moves for the positioning work. If the tool falters (loses step-sync) it will actually drop pretty fast — so be careful. Potential issues with power and sync are a good reason to make sure you do a test, air-cut, above the material before the real pass.
If you have the space for it, you’ll probably be better off arranging the Y-axis on the horizontal for wall cutting. If you do need to work with the vertical-Y orientation, particularly if you are planning to do a lot of wall work, it may be helpful to spring-load the Y-axis and take a little weight off the motor … perhaps with some bungee cord. We’ll need to explore that approach a bit more in the future.